Bias tape is something I use a lot in my sewing adventures. However finding matching bias tape can be quite challenging so I end up making my own in most cases and I decided to share two methods that are the best in my opinion and today I am talking about my favorite method.

First you'll need your fabric, a rotary cutter, ruler, a cutting board and scissors

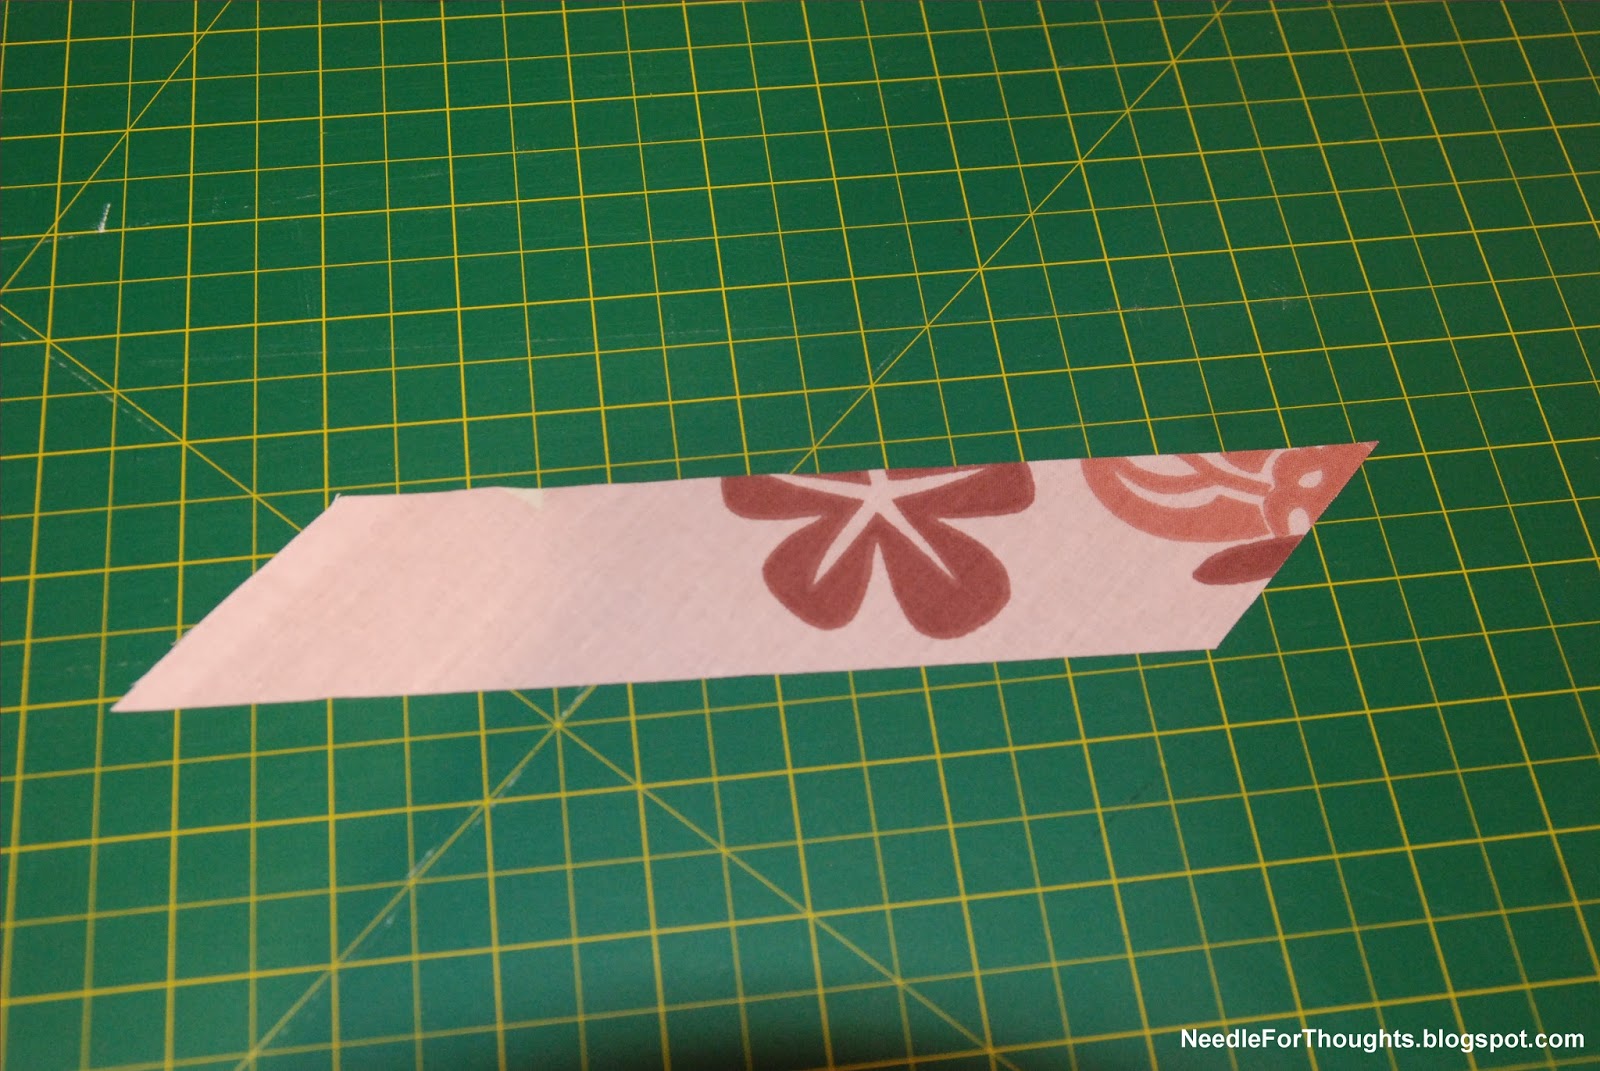
Then you need to make sure your fabric has at least two sides cut on the grain. Based on the grainline, cut one edge of the fabric on the bias(45degrees from the grainline). Once you've done that, start cutting strips of fabric on the bias with the width you like to have your tapes. I prefer 4cm of full width as it gives me nice 1 cm tape after sewing. Cut as many strips as you wish.

After you've cut your strips, you need to make sure that all the short edges of the strips are all angled in the same direction. It does not matter which direction you choose, but it is important that all pieces are identical like mine below. If your pieces don't look like mine(or mirror mine), then cut the sides under 45degree angles from the length of the strips. This will make the joining seams be angled and distribute the seam allowances and bulk. If you join your bias strips with a 90degree seam, you'll end up with a lot of unwanted bulk when sewing your bias tape to your makes.
Now that your strips are ready to be sewn together, head to your sewing machine. You'll want to use a straight stitch with a small stitch length. I find 1,5mm the best length for this as longer might unravel and shorter can be too much. When sewing, you'l'l want to match the sewing lines of the bias strips. It looks weird right now but I promise, it'll end up right. If you match the seam allowances, you'll end up with uneven tape. DON'T make any backstitching or any other seam finishing stitches at the start of finish of these seams. They'll add unwanted bulk and make a mess. This is why the stitch length is small so it won't unravel.

When you get to the end of the seam, don't cut your threads and just simply move on to the next seam. Keep going until all pieces are joined into one big strip.

If you've done everything right, you should end up with a fun looking strip of loops like this.

Now you'll want to trim off all those tiny triangles poking over the tape corners and the thread that is joining all the seams.

After you've done that, you'll have a long piece of bias tape. Now simply press the seam allowances open and press the tape into your desired form, be that single fold, double fold or anything else. I like to have my tape pressed simply in half.

And that's it! You can have all the bias tape you desire with just a few minutes of sewing and cutting. This is my favorite method of making bias tape as it can be used with scraps and the rotary cutter makes cutting so fast and neat. Also as you see each seam while sewing, you'll know when your seam lines aren't matching.

Great tutorial. Thanks for taking the time to post
ReplyDeleteNo problem, glad you enjoyed it!
Delete